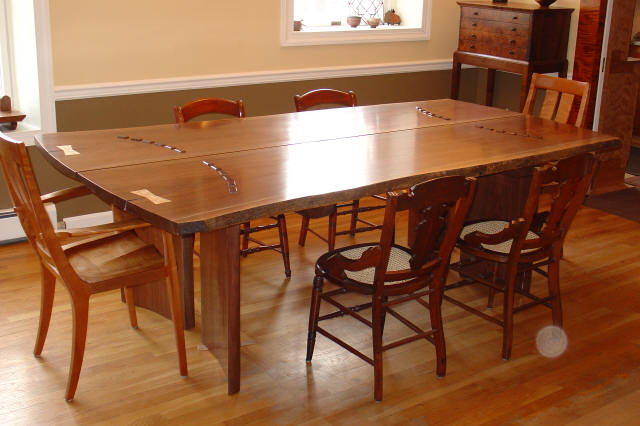
| Walnut Desk | Karen has been helping me build a Nakashima style walnut plank desk, with Birdseye Maple butterfly joints reinforcing a crack in the butt end of the book-matched boards. |
 |
|
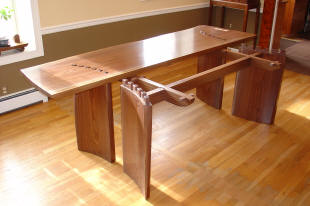
| When we finally assembled the table, and everything fit! I intend to use this table in our office, to replace makeshift desks we use now. We'll use this in the meantime in the dining room. (construction details below) | |
|
|
|
|
|
|
| Below, see how to build a Walnut trestle table. | |
|
|
|
|
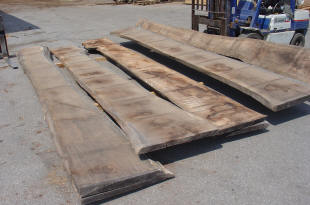
The boards were found at the sawmill, Groff and Groff Lumber in Lancaster County, PA. The two boards in the center will become our table. Nearly 3' wide at the butt end, and 19' long. |
I held my breath and crosscut the boards. This is one place where a mistake can't be fixed. The table will be 8' long and 60" wide, with the cut-offs becoming legs for the table. |
|
|
|

|
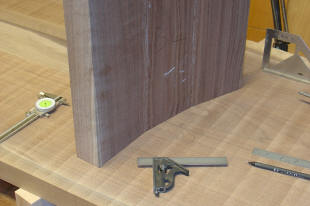
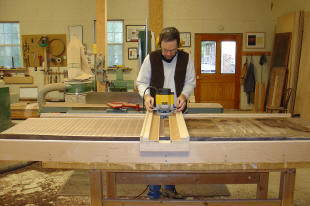
Rough lumber starts out warped from the drying process. These boards are simply too wide to fit in my jointer and planer. I built a jig for straightening and flattening the rough lumber. I could have ripped the boards, flattened each section on the machinery, and glued them back together. But this gives me a flat table top with no glue joints. |
I decided to curve the legs. I shaped the outside edges of the legs with a curved hard line. My flattening jig came in handy wasting out the concave side of the leg into a gentle curve with my router and a cove bit. The convex side was easy to curve with a hand plane. Walnut is so sweet to work by hand. |
|
|
|
|
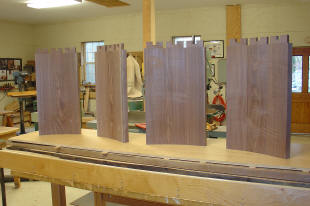
Here are four legs. The next step is to cut out matching mortises (holes) in the table top. |
I made a template that fit each set of legs. This allows me to cut out the mortises from the table top to fit each set of leg tenons with precise accuracy. |
|
|
|

|
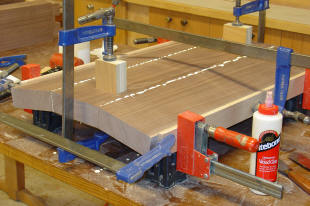
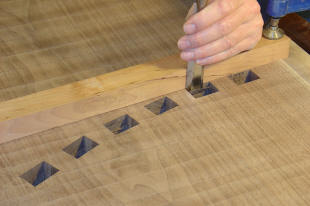
I cut out the mortises in the table top with a jigsaw, close to the line. A sharp chisel cleans up the joint for a snug fit. |
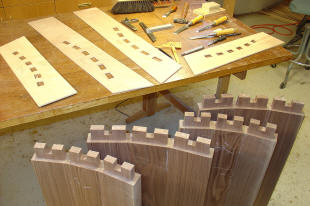
The tenons on the top of the legs, and the matching mortises from the bottom side of the table top. They need to fit tight enough not to wobble, but loose enough to slide together without binding. |
|
|
|
|
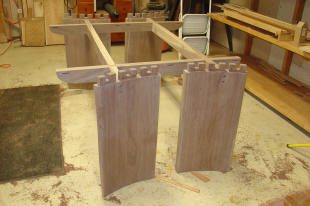
A little tap with the rubber mallet, and the legs are home. |
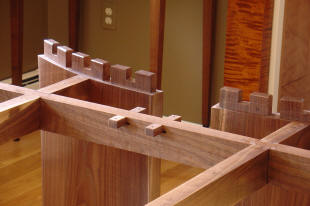
Here is the table without the top attached. The whole thing is designed to fit together like a puzzle, with no glue. |
|
|
|
|
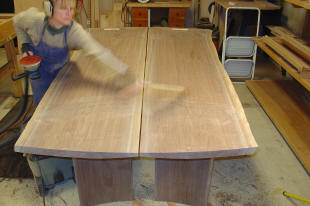
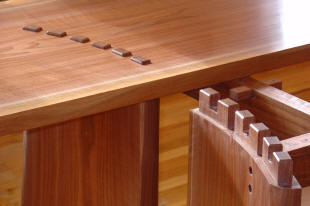
The desk needs to be carried into the office in pieces, and assembled there. As it is, I'll have to remove a door to get the planks for the top into the room. The pieces lock together to form a very stable Walnut table. |
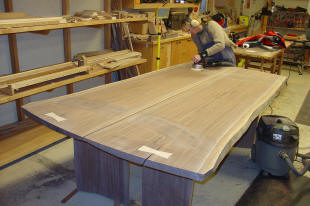
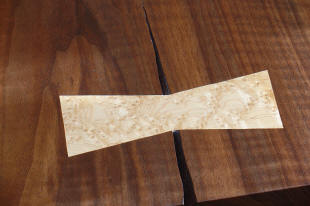
You can see the Birdseye Maple butterfly joint that stabilizes the crack in the butt end of the planks. The crack develops as the lumber air dries awaiting the final drying in the kiln. Some wonder why use a board with a crack in it? The crack is a mark of character, and the butterfly joint a celebration of the natural character of the wood. |